
This week at Fab Academy: Casting


Silicone cast from PLA 3D print experiment
Prior to this week, I already made a wee experiment casting silicone into a mold that I printed back in the 3D scanning and printing week. I used cooking oil to ensure a release, especially as I knew the print was fairly messy in the cavity. I soon realised that oil can seep through the layers of even what looked like a watertight print, so I wouldn't advise this if you'd like to remain clean and tidy. Once the silicone had set, getting it out of the mold was fairly straight forward, except for the very bottom of the piece which was quite snarled up with the print. The object I am trying to cast is for a live project I am doing, and is basically a tube shaped component, so the mold requires a plug. In this first case I realised quickly that the silicone is too viscous to flow well into the 2mm wall cavity that I had created in the print, so I pulled out the printed plug and replaced it with a pen lid of the same diameter (having filled some holes in it with hot glue and oiled it). This plug popped out very easily but obviously the silicone was very snarled up in the tough edges of the print where I had ripped out the plug.
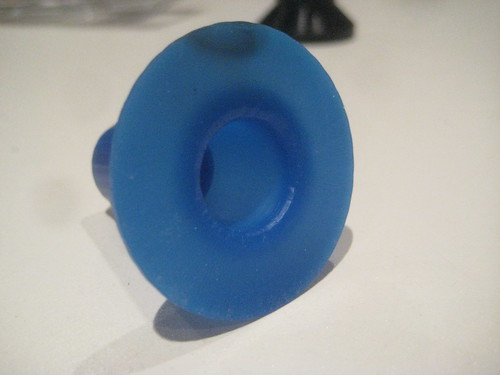
All in all the results were surprisingly good for me, having expected the cast not to release at all. Here is the printed mold and the silicone cast. I sealed the bottom of the mold with hot glue to stop all that oil seeping out everywhere! It is encouraging to know this method of casting is possible, as printing a simple mold is really quick, but the surface finish is always going to be as bad as that of the print. I wouldn't recommend it for thin walled things, unless you make a plug like I did.
Polyurethane Rubber cast in Silicone mold test
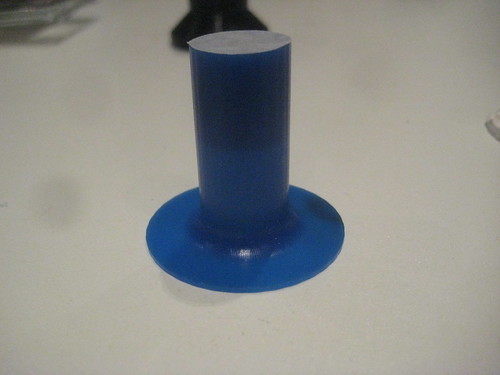
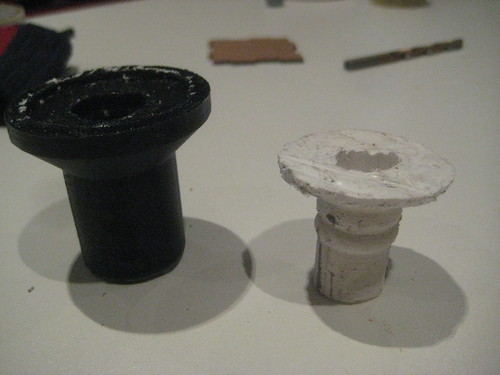
I ultimately wanted a much smoother surface finish, and wanted to try the polyurethane rubber, so I thought I'd use the interior of my silicone cast as a mold for a polyurethane rubber plug. I taped over the bottom of the silicone form with duct tape, mixed up some (black) PU rubber with some white pigment (resulting in a grey colour) and poured it in. The PU rubber is much less viscous than the silicone so is better for pouring, but it seemed to drain down fairly quickly which made me wonder if the tape was letting it leak around slightly (duct tape doesn't stick to silicone all too well). When i came back to the cast the next day, it had reduced in height yet more, which makes me think it might be shrinking quite a bit. When I opened up the mold I saw that sure enough the PU rubber had seeped in to the tape a fair bit. The resulting cast separated really easily from the silicone, having not had any release agent. A promising result for my next cast. Below is the silicone mold and the resulting plug - the PU rubber we have is really stretchy, possibly more so than even the silicone.

Wax master - Silicone mold - PU rubber cast
Whilst I was waiting for the previous cast to set, I milled a new master from machinable wax on the Roland Modela 40, using the rotary axis unit. This was a steep learning curve, especially setting up the rotary axis, but the results were great! The wax machines really well, and the rotary axis means we get a beautiful finish on small radii things. Quite limited in terms of workpiece size however - we are using SRP player, the Roland software, to drive the rotary axis, which has in built safety features forcing you to use a very long workpiece to keep the tool head far away from the rotary axis jig. Anyway, the results can be seen below:
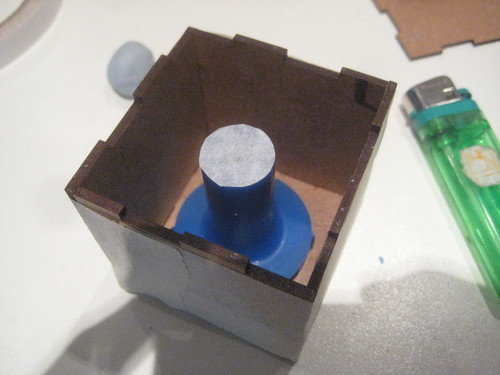
This is the workpiece after I had cut it off its supports and manually drilled the cavity through the middle using the pillar drill and a Forstner bit for the 15mm diameter hole.
I then used a cube from the pressfit assignment as a shuttered box to cast the silicone into, with the edges taped up. I placed a couple of small blocks of wax at the bottom as sprues, and placed my wax master on top.
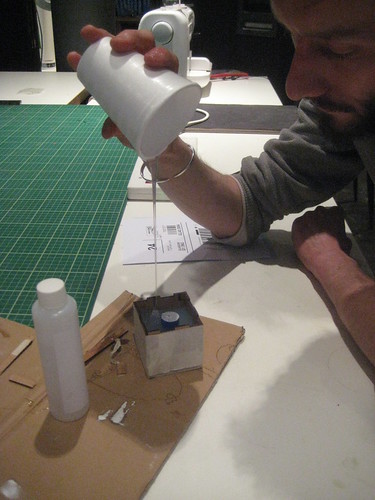
I then mixed up some silicone, trying not to get air in there (tricky) and 'stretch poured' it into the box. I think this help to degas the mixture a little but there were still a lot of bubbles rising up slowly once the pour was complete. I had put a little tape over one end of the master with a small puncture hole in it, in the hope that this will provide a week point in the silicone mold where the plug can break free to release the cast, or possible the wax master too. I'd like to be able to use the mold more than one if at all possible. I am now waiting for this all to set (we are going through a cold snap here so this may take a little longer than usual) before I will remove the wax (mechanically or by melting) and hopefully be able to try a PU rubber cast. Will update here when this happens.


No comments:
Post a Comment